
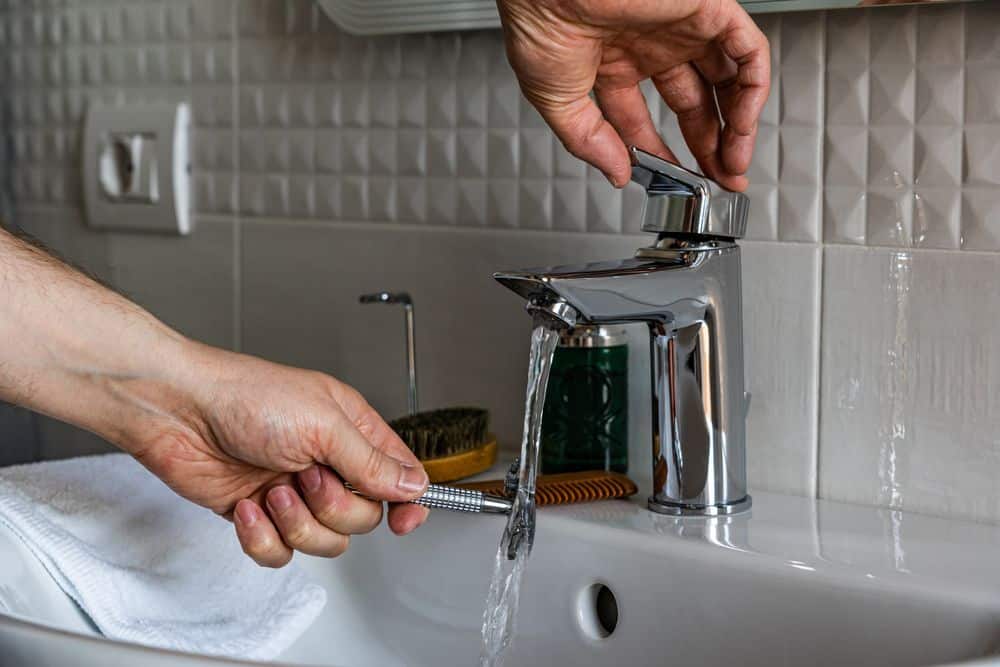
Water and bathroom cabinets have never gotten along. It only takes a small leak under the sink or years of steam from hot showers to cause your cabinets to swell, warp, and rot.
Fortunately, you can easily repair water-damaged bathroom cabinets if you notice the problem early. The right fix depends on the cabinet material and extent of damage. Surface damage is the easiest to fix, but deep, spread-out damage may not be worth fixing.
Here’s how to repair a water-damaged bathroom cabinet, restore wood, laminate, and particle board vanities. We’ll also cover how to fix damage under the sink and keep moisture from causing the problem to recur.
Can Your Water-Damaged Bathroom Cabinet Be Repaired?
Many water-damaged bathroom cabinets can be repaired, but the right solution depends on how much moisture the cabinet absorbs. Before you start sanding or replacing parts, take a few minutes to assess the damage and the cabinet material.
Maybe it’s too damaged and calls for total replacement, or maybe the damage is merely cosmetic. It depends on the extent.
Signs the Damage Is Only Cosmetic
Cosmetic damage affects the cabinet’s appearance more than its strength. You can easily repair such damage, i.e.,
- Water stains or discoloration,
- Peeling paint or finish,
- Minor swelling around edges,
- Slightly raised wood grain,
- Small areas of chipped laminate.
Clean and dry the cabinet before sanding and using filler, then paint it afresh, or stain it again before applying protective finish.
Signs the Cabinet Needs Replacement
Again, water damage can be so severe that it affects structural integrity. Then, repairs would be as futile as slapping a Band-Aid on a stab wound.
Don’t waste your time and money with repairs if you observe:
- Soft or crumbling particle board,
- Large sections of swollen wood that won’t return to shape,
- Mold growing deep inside the cabinet panels,
- Loose joints that no longer hold together,
- Cabinet bottoms that sag under normal weight.
These problems usually indicate that moisture has penetrated deep into the cabinet core.
Why Cabinet Material Makes All the Difference
The material determines how well a cabinet stands up to moisture and how likely it is to respond to repairs.
- Solid wood is easy to sand and refinish after minor water damage.
- Plywood resists moisture better than most engineered materials and usually repairs well if the layers haven’t separated.
- MDF swells quickly when exposed to water, making extensive damage difficult to repair.
- Particle board tends to crumble after prolonged moisture exposure and often requires replacement.
- Laminate cabinets usually repair well if water hasn’t reached the material underneath.
How to Repair Water-Damaged Bathroom Cabinet Step by Step
You can begin the repair after confirming the cabinet is worth saving. Take your time with each step, as rushing always causes more problems.
1. Stop the Leak Before Making Repairs
It will defeat the purpose to jump right to the repairs without stopping the leak that caused the damage. The damage would be back sooner rather than later.
Inspect for any signs of moisture around the sink drain, water supply lines, and P-trap. Also check the faucet connections and any nearby plumbing.
If the water damage is from condensation, improve ventilation to prevent future issues.
2. Clean Away Mold, Mildew, and Stains
Use a cleaner that kills mold and mildew around the affected area. After cleaning, check again for soft spots or damage hidden behind stains or grime.
If you skip this process, the mold will quickly recolonize the area and spread out.
3. Dry the Cabinet Completely
Remove everything from inside, leave the doors and drawers open, and use fans or a dehumidifier to speed up the process.
Depending on the amount of water, drying may take anywhere from a day to several days.
4. Sand Swollen Wood and Rough Edges
Light swelling makes the wood feel rough and uneven, so you have to sand such areas until they’re smooth. Sand along the grain patterns to avoid making visible scratches.
You don’t need this step to repair light damage on a laminate bathroom vanity.
5. Fill Cracks, Dents, and Soft Spots
Use a quality wood filler or epoxy to rebuild small damaged areas. Press the filler into cracks, chips, or shallow depressions, then allow it to cure completely before sanding it flush with the surrounding surface.
6. Prime, Paint, Stain, or Seal the Cabinet
Finish the repair by restoring the cabinet’s protective surface. Paint, stain, or apply a clear sealer that matches the existing finish.
This final coat improves the cabinet’s appearance and also makes it relatively water-resistant. We suggest a quick review on how to fix worn spots on kitchen cabinets.
How to Repair Water Damage Under a Sink Cabinet
You’re likely to start experiencing cabinet water damage from under the sink, like most other homeowners. That area is prone to leaks from faucets, drains, and garbage disposals. All you need are some basic tools and materials, including:
- A bucket,
- Towels or rags,
- Sandpaper,
- Wood filler,
- Paint or stain,
- Wood hardener or epoxy.
Here’s how to go about it.
1. Replace a Damaged Cabinet Bottom
If the cabinet floor has swelled beyond repair, cut out the damaged section and install a new plywood panel. Plywood holds up to moisture better than particle board and provides a stronger foundation for storing bathroom essentials.
Here’s more on cabinet plywood grades.
2. Reinforce Weak Cabinet Panels
Water can weaken the cabinet sides as well as the bottom. If the damage is limited, reinforce the area with wood hardener, epoxy, or support cleats before replacing the bottom panel.
3. Prevent Future Plumbing Leaks
Tighten loose plumbing connections and replace worn seals. Then, wait a couple of days and check for signs of new leaks. Use a waterproof cabinet liner to shield the cabinet floor to slow future damage.
Repairing Wood, Laminate, and Particle Board Bathroom Vanities
The material that you chose for your cabinets will influence your repair options. Wood, laminate, and particle board each respond differently once moisture gets inside.
How to Repair Water-Damaged Wood Cabinets
Wood cabinets give you the most options. All options start with cleaning and drying the cabinet to diagnose the extent of the damage and prepare for repairs.
For stains, cracks, chips, and small damaged sections, first sand away the stains and rough patches, then use wood filler or epoxy for filling. Once dry, sand the repairs until smooth and re-stain or paint to match the original finish.
For more serious damage, replace part of the panel or reinforce a weakened joint. Finish the repair with paint, stain, or a protective sealer to keep moisture from reaching the wood again.
How to Repair a Laminate Bathroom Vanity
Laminate holds up well until water gets underneath the surface. If the laminate has started peeling, carefully lift the loose section, clean and dry the area underneath, then apply laminate adhesive and press it firmly back into place.
You may have to replace severely damaged laminate, especially if the material underneath has swelled.
How to Stop Particle Board from Crumbling
Particle boards absorb water quickly, and prolonged exposure can cause it to swell, soften, and crumble. If the damage is small, it’s only insignificant if you repair it before it spreads. Allow the board to dry completely, and introduce epoxy or wood hardener to stabilize it.
If the crumbling is extensively spread out, don’t waste your time trying to repair it. That’s your opportunity to install new cabinets with higher-quality materials. Particle boards have a limited lifespan and will require replacement at some point.
How to Tell You Engineered Wood Is Out of Time
Look out for:
- Extensive swelling,
- Crumbling edges,
- Delamination,
- Soft spots.
When Is It Better to Replace a Bathroom Vanity?
Let’s say the above red flags aren’t as prominent; what else could influence your decision between replacing and repairing? For example, some folks will overhaul a totally mint-condition bathroom vanity, and it’s not our business to say they were wrong.
Compare the Cost of Repair and Replacement
As a logical player in the markets, you’re always trying to get the most bang for your buck, so a costlier replacement could ultimately be more beneficial than a cheap, temporary repair.
For example, if a fix is relatively cheap and it’ll only last you a couple of months, it may be more cost-effective to replace the entire thing. On the other hand, if a repair is expensive but will last you for years to come, it may be worth investing in the repair rather than replacing the item altogether.
If several parts of the cabinet need work, compare the total repair cost with the price of a replacement before you start.
Choose a Replacement That Handles Moisture Better
If replacement makes more sense, look for cabinetry made with materials suited to bathroom conditions. Good construction, sealed surfaces, and proper installation can reduce the risk of future water damage.
Designer Cabinets Online offers KraftMaid cabinetry for homeowners looking to replace damaged bathroom cabinets with quality cabinetry built for everyday use.
We’ll plug you with the best kitchen cabinets for high humidity.
How to Prevent Water Damage from Happening Again
Once you’ve repaired a water-damaged cabinet, a few simple habits can help keep it dry. Focus on the areas where moisture usually starts and deal with small problems before they spread.
1. Fix Small Leaks Immediately
Slow leaks are the worst because you don’t notice them as they warp and rot your cabinets. Routinely check the faucet, supply lines, drain, and P-trap, and repair leaks ASAP.
2. Improve Bathroom Ventilation
Steam and condensation leave moisture on cabinet doors and exposed edges. Run the exhaust fan while showering and leave it running for a while afterward to help clear excess humidity.
3. Protect Cabinets Around the Sink
Don’t allow any splashes of water or messy soups and beverages to sit on cabinet surfaces. A sink mat or waterproof liner can provide extra protection inside the vanity, especially beneath plumbing connections.
4. Inspect Plumbing Regularly
Don’t wait for a puddle to appear before checking the plumbing. Look under the sink occasionally for:
- Damp spots,
- Water stains,
- Loose connections,
- Swollen cabinet panels.
5. Clean and Reseal Cabinets When Needed
The finish you use to protect your cabinets takes all the punishment, and it’s usually the first to go before the cabinet material starts deteriorating.
You can tell your cabinets need some backup finish when they lose their luster. You should:
- Clean cabinets with mild soap and water,
- Dry them thoroughly,
- Use polyurethane sealant to protect the finish.
- Refinish your cabinets if the original finish is too worn out.
Repair Water Damage Early to Protect Your Bathroom Cabinets
Addressing water damage promptly is the best way to prevent permanent structural issues in your bathroom cabinetry. If the damage has progressed to a point where simple cleaning or minor surface treatments are no longer sufficient, it may be time to consider a replacement rather than a repair.
At Designer Cabinets Online, we specialize in providing high-quality cabinetry built to withstand the demands of a bathroom environment. If you find that your current cabinets are beyond salvaging, contact us today to explore durable, moisture-resistant replacement options.