You never want your kitchen to lose its spark, but a chip in a kitchen cabinet can easily kill the charm. You should know how to prevent painted kitchen cabinets from chipping, but it may happen over time. When it does, knowing how to fix a chip in a kitchen cabinet will save you a great deal.
You’ll need wood filler, sandpaper, paint, and a putty knife to fix chipped kitchen cabinets. Clean the area around the chip, dry it to avoid sealing in moisture, fill the chip with your ideal wood filler, and leave it to dry. Smooth the surface with sandpaper and prime it. Allow the prime to dry, then paint over it.
It sounds easy, right? But there’s more to it than following these steps. Let’s first discuss what causes painted kitchen cabinets to chip. Then, we can get into a detailed guide on how to fix a chip in a kitchen cabinet.
Why Are My Kitchen Cabinets Chipping?
Nothing makes it look like you don’t have your life together quite like chipped kitchen cabinets. And though it might not seem like a big deal, it can actually be a real eyesore. So, it’s important to understand what causes kitchen cabinets to chip so you can prevent it from happening.
Let’s explore a few of the most common reasons kitchen cabinets might be chipping.
1. Poor Quality Materials
One possible explanation for chipping kitchen cabinets is that they were made with low-quality materials. Cheap or thin wood, particle board, or even laminate can easily chip or flake off over time.
It’s vital to invest in high-quality cabinets made with durable materials, even if they may be more expensive upfront.
2. Excessive Use
Another factor that can contribute to chipping cabinets is excessive use. If you run a busy kitchen as a family or a foodie living alone, you probably keep opening and closing your cabinets frequently.
Busy kitchen cabinets ultimately incur wear and tear, chips, and scratches. It’s always best to fix such chips early before they get worse.
3. Moisture and Humidity
Moisture and humidity are also common culprits of chipping cabinets. The wood can swell and contract over time if your kitchen is prone to high moisture levels, such as cooking or poor ventilation.
Additionally, excessive humidity can make a suitable environment for mold and mildew to grow, damaging the surface of cabinets.
4. Improper Maintenance
Proper maintenance is crucial for keeping cabinets in good condition and preventing chipping. If cabinets are not cleaned regularly or are subjected to harsh cleaning products, the protective finish can be stripped away, leaving them vulnerable to chipping and other damage.
We recommend gentle cleaning products, so avoid abrasive materials when wiping down cabinets.
5. Age
Age can also contribute to chipping kitchen cabinets. Over time, even the most well-maintained cabinets will experience wear and tear. The wood may become weaker and more prone to chipping as they age.
Why Are My Painted Kitchen Cabinets Chipping?
Painted kitchen cabinets can also experience chipping, and the reasons for this are often similar to those of stained cabinets. However, a few additional factors may contribute to chipping in painted cabinets.
1. Poor Quality Paint
Low-quality paint is one of the main culprits for chipping in painted kitchen cabinets. Cheaper or lower-quality paint may not be strong enough to withstand daily wear and tear, leading to chips, scratches, and peeling over time.
2. Inadequate Preparation
Proper preparation is key when painting kitchen cabinets. If the surface is not properly cleaned or sanded beforehand, the paint may not adhere properly and can chip or peel off easily.
3. Exposure to Moisture and Humidity
For example, with stained cabinets, moisture, and humidity can also contribute to chipping painted cabinets. If your kitchen is prone to high humidity, it softens and swells up the paint, eventually causing chips.
4. Improper Painting Technique
When painting your kitchen cabinets, it’s important to use the correct techniques for a smooth and durable finish. For example, the paintwork will encounter issues if you apply coats that are too thick or fail to allow coats to dry before painting over them.
Perhaps it will be best to hire someone who knows how to paint kitchen cabinets so they don’t chip.
How to Fix Chipped Kitchen Cabinets
Before you think about replacing all of your cabinets or spending hours refinishing them, why don’t you try a few quick fixes to help make the cabinets look new? Here are some steps, with tips, to follow:
1. Clean the Cabinets
Clean the cabinets first because dirt and grime build-up can make them look dull and worn. Small particles also get embedded in the chips and scratches, and you don’t want to seal dirt under the paint or varnish.
So, before you start any repairs, follow these steps:
- Remove all items from the cabinets: Take out plates, glasses, and silverware. Put them in a safe place where they won’t get damaged.
- Wipe down the cabinets: Clean the surface of the cabinets using a soft cloth and soapy water solution. Be gentle; you don’t want to scratch or further damage them.
- Dry the cabinets: You don’t want excess water to remain on the cabinets, as it can cause warping or damage. So dry the surface with a soft cloth, and give it time to breathe.
2. Use Wood Filler
If your kitchen cabinets have minor chips or dents, you can easily fix them using wood filler, an inexpensive option. It’s made of wood particles and adhesive, making it easy to mold and shape.
- Start by scooping out some wood filler onto the putty knife.
- Gently press the wood filler into the chipped area, filling it completely.
- Use the putty knife to smooth the surface, removing excess wood filler.
- Depending on the weather, wait 10-40 minutes for the wood filler to dry.
- Once dried, sand the area lightly with fine-grit sandpaper until it’s smooth and level with the rest of the cabinet surface.
3. Touch Up with Paint
After filling in the chips with wood filler, you can touch up the paint on your cabinets with the following steps:
- First, use a small brush to apply primer over the wood filler and let it dry completely.
- Once the primer is dry, use a small brush to apply touch-up paint that matches your cabinet color.
- Let the paint dry.
How to Prevent Painted Kitchen Cabinets from Chipping
1. Use High-Quality Paint
Invest in good-quality, durable paint for your kitchen cabinets to ensure adhesion that doesn’t chip easily.
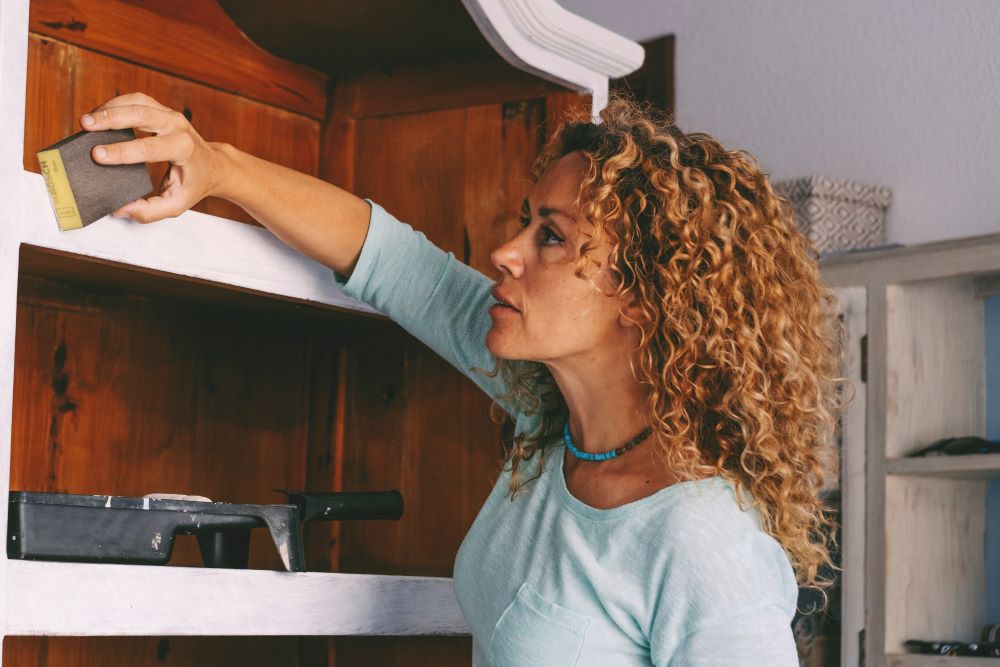
2. Prep the Surface Properly
Sand and clean your cabinets thoroughly before painting them so the paint attaches itself better on the surface without chipping easily.
3. Apply Multiple Coats
It’s better to apply several thin coats instead of one thick coating finish for a smoother and more durable finish.
3. Use a Topcoat
Applying a clear topcoat over the painted surface can add a layer of protection against chipping and damage.
4. Avoid Harsh Chemicals
Harsh cleaning products or chemicals can strip away the paint on your cabinets. Stick to gentle cleaners and avoid using abrasive tools or scrubbers.
5. Handle with Care
Treat your kitchen cabinets like the precious assets they are, especially around the edges and corners where chipping is most likely to occur. Avoid slamming cabinet doors shut and use caution when placing heavy objects on them.
Final Thoughts on Fixing Chipped Kitchen Cabinets
Remember, handling cabinets carefully and using preventative measures like high-quality paint and a topcoat can go a long way in preventing chipping. But if your cabinets do get chipped, don’t worry!
You don’t need an expensive kitchen remodel just because your painted kitchen cabinets are chipping. Why not try these DIY solutions and see if they can restore your cabinets to their former glory? Fixing chipped kitchen cabinets is part of what is considered a minor kitchen remodel. So, learn more about remodeling your kitchen by busting some common myths.